Making My Puppets.
From looking at the history of puppets, I decided to go with the idea of a contemporary puppet.
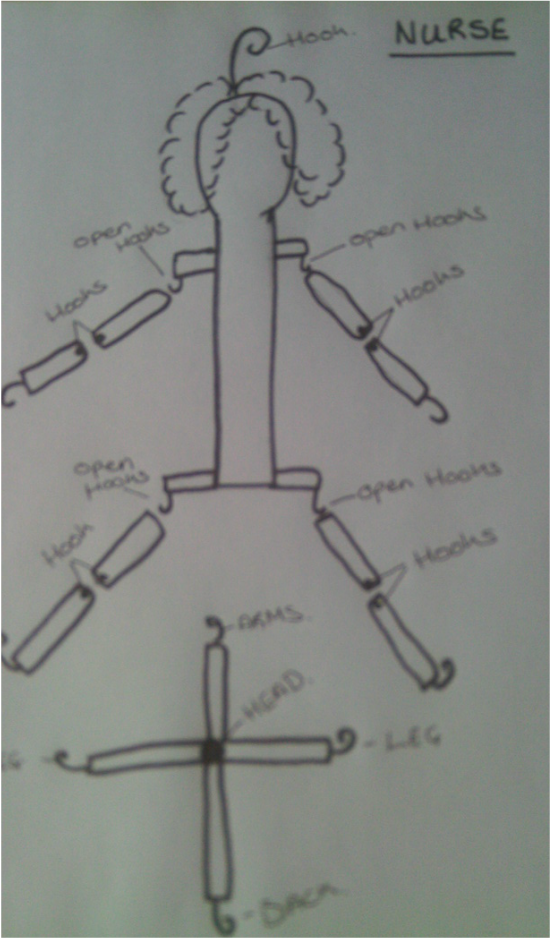
I first began sketching out what I wanted my puppets to look like, by taking the drawing technique from my free standing puppet. In my sketch I showed how I was going to attach all the body parts together and showed the different joints, of which would enable the puppet to move freely. I then did two simple sketches of what and how I wanted the clothing to look like.
I first began sketching out what I wanted my puppets to look like, by taking the drawing technique from my free standing puppet. In my sketch I showed how I was going to attach all the body parts together and showed the different joints, of which would enable the puppet to move freely. I then did two simple sketches of what and how I wanted the clothing to look like.
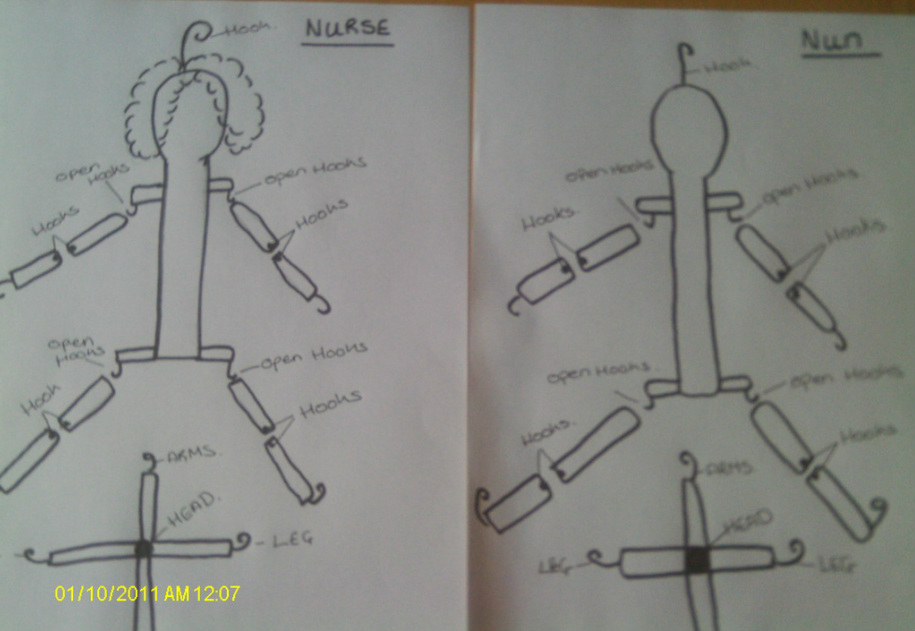
Below is a sample drawing of how I am going to make my puppets. The puppets will be made out of dowel and wood and put together with hooks for the joints to move.
From all the different materials I looked into for my puppets, I found that these materials would be the most durable and sturdy materials to fit the requirements that would be needed for this project.
From all the different materials I looked into for my puppets, I found that these materials would be the most durable and sturdy materials to fit the requirements that would be needed for this project.
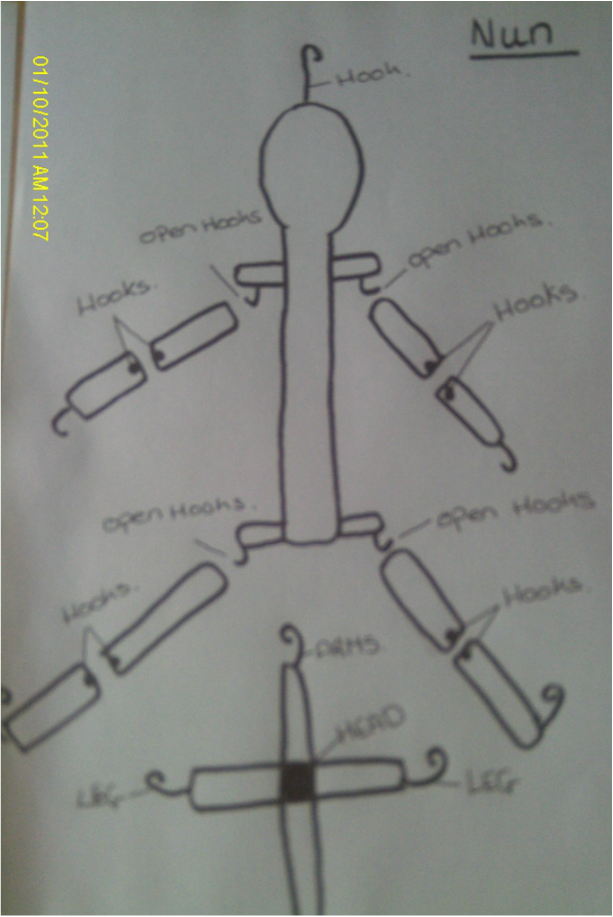
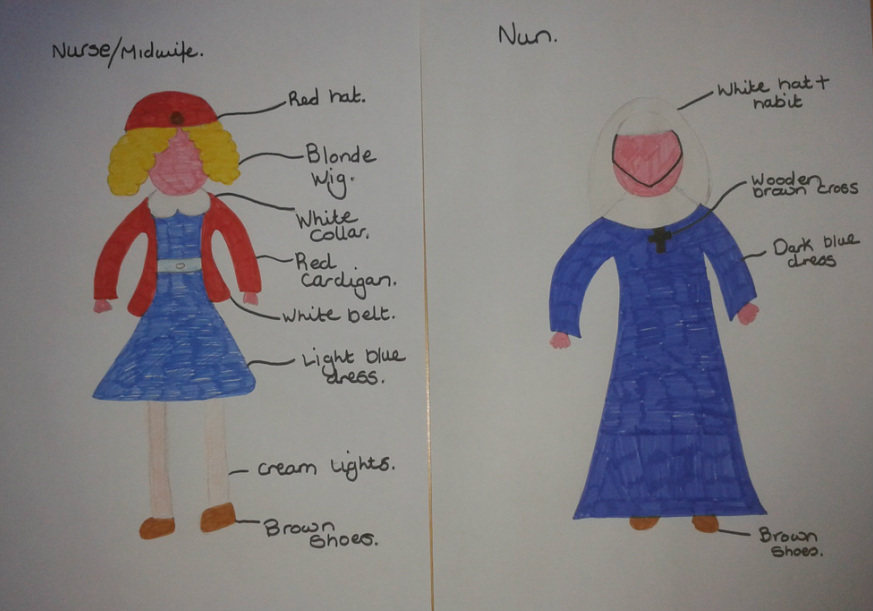
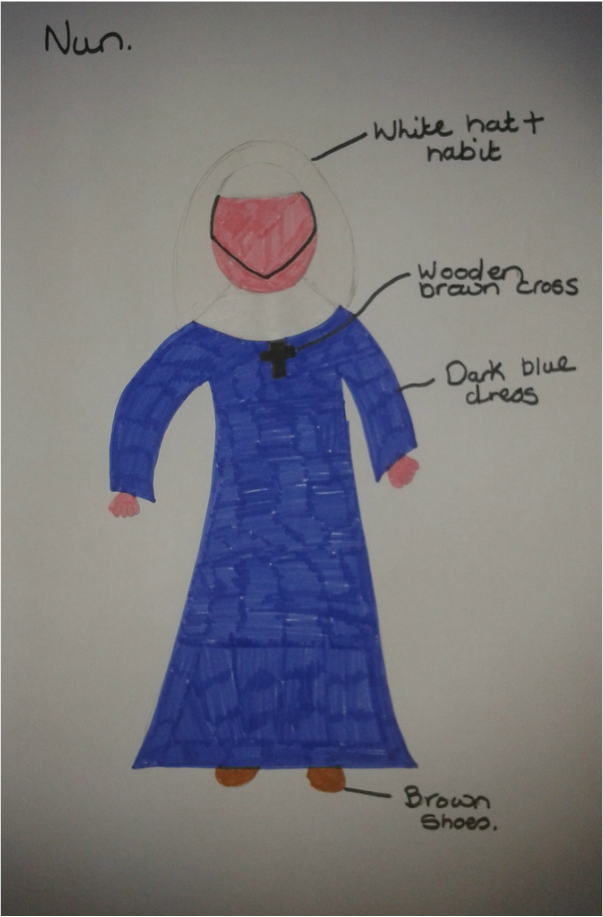
This is a simple sketch of what I want the NUN clothing to look like.
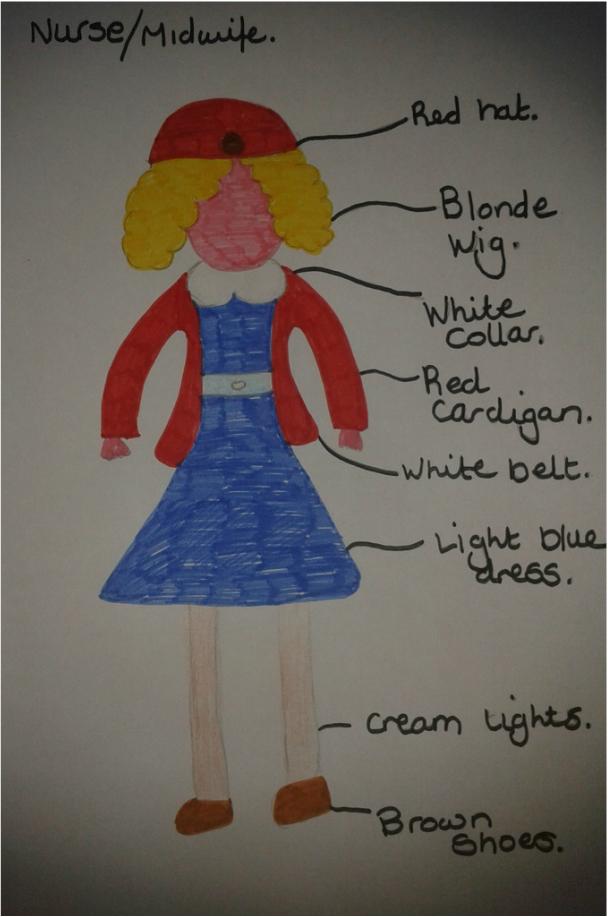
This is a simple sketch of what I want the NURSE/MIDWIFESclothing to look like.
After working out how all the different components would connect together for my puppets, I then started making their heads.
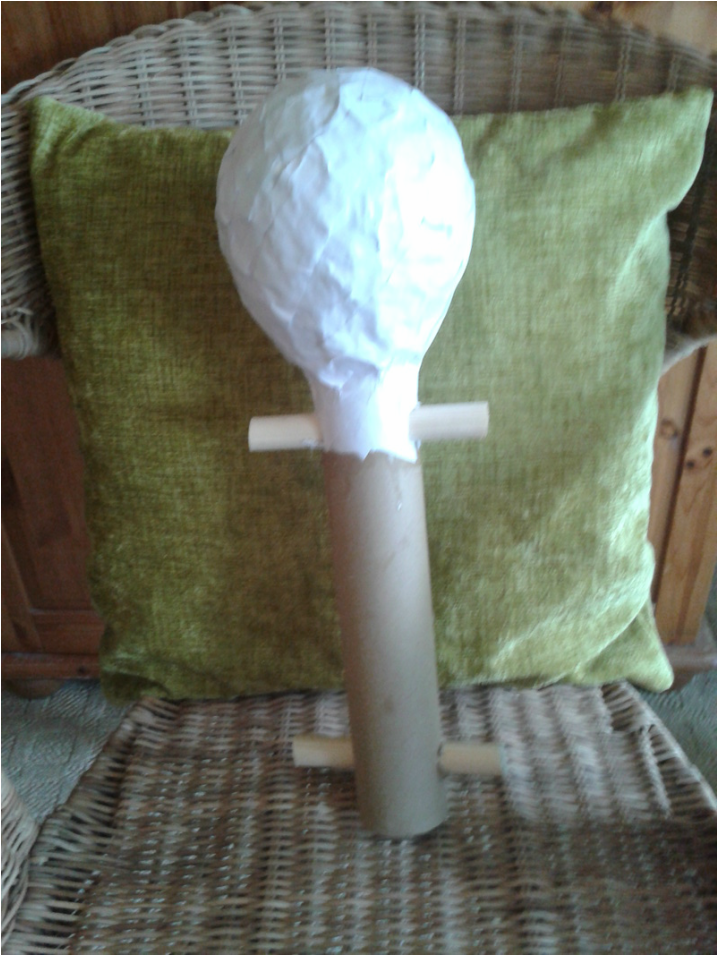
I first began with blowing up a balloon, which would eventually take shape of the puppets head, once I have placed many different layers of paper Mache over the balloon and aloud it to set.
I first began with blowing up a balloon, which would eventually take shape of the puppets head, once I have placed many different layers of paper Mache over the balloon and aloud it to set.
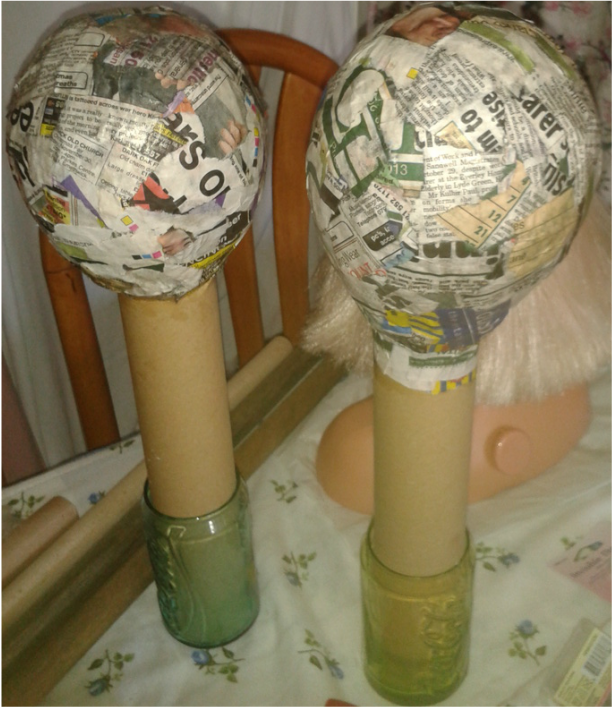
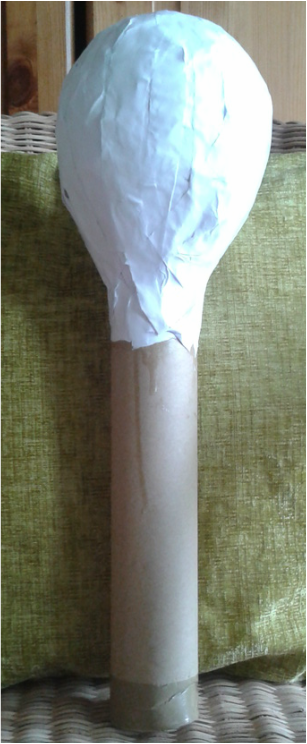
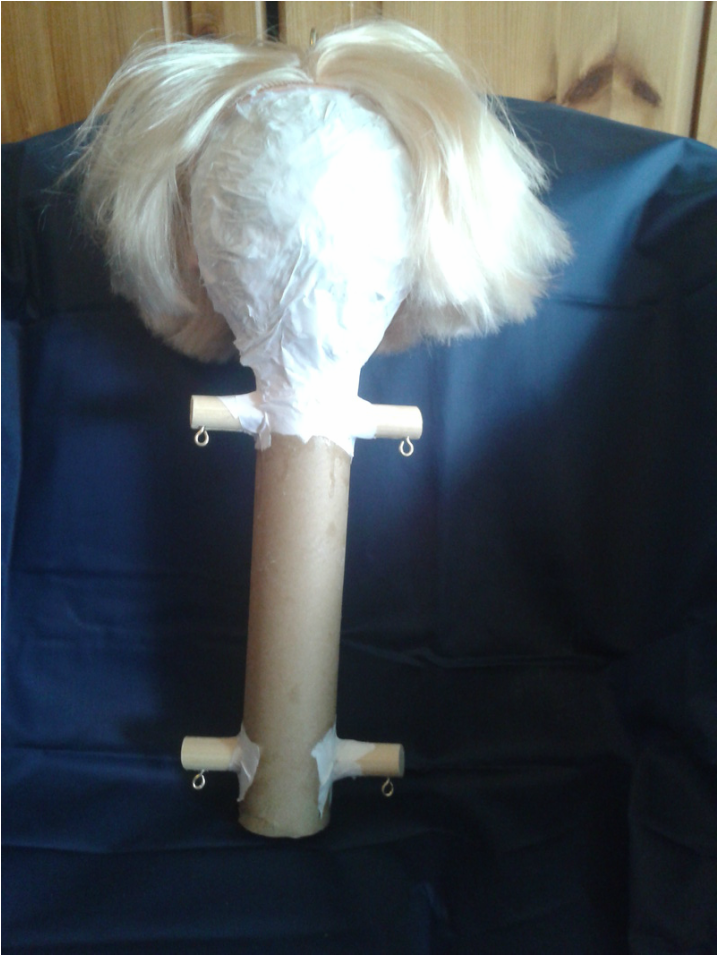
After I had made the balloon heads hard I then placed them on a cardboard tube to make a body for the puppets and that they would be strong enough for the arms and legs.
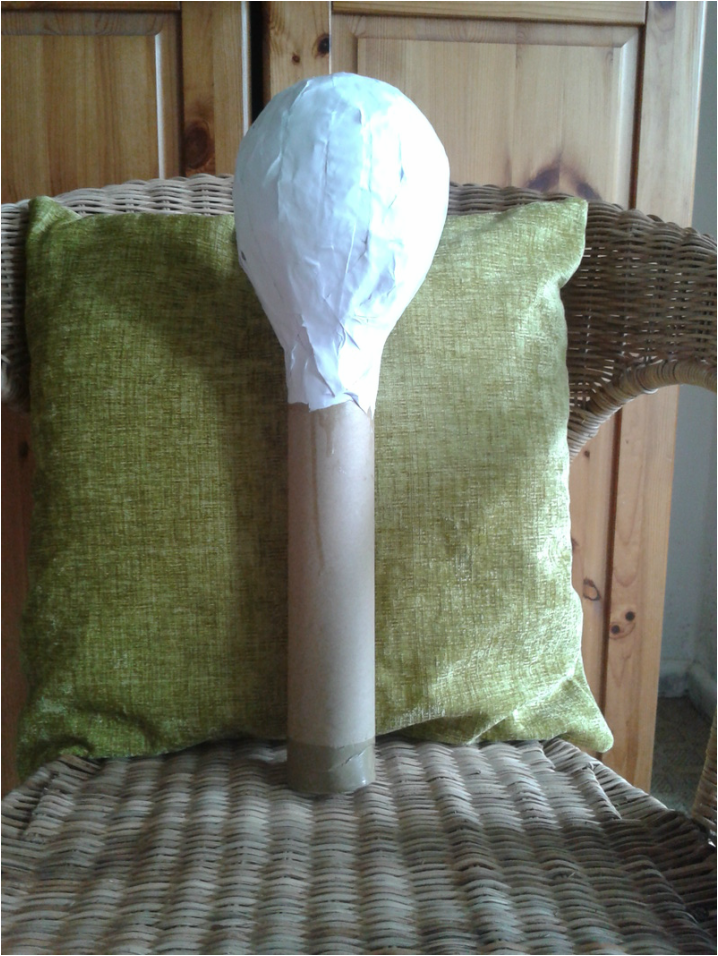
I now had to connect the head to a cardboard tube, to get the main structure of my body, of which I would then mark out where the other bodily parts would connect to.
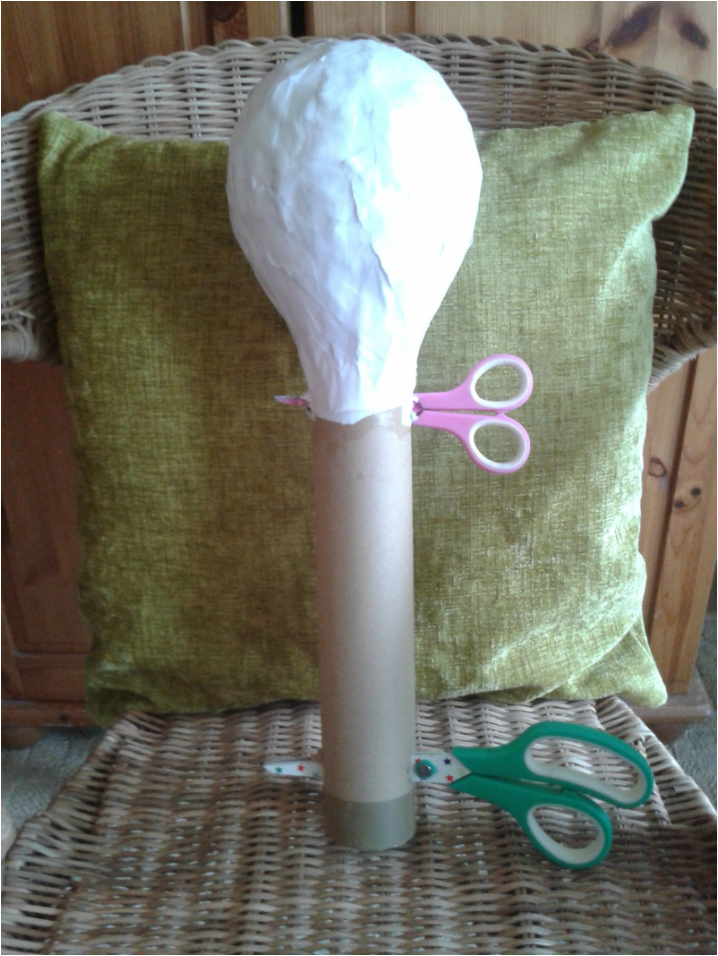
The arms and legs were marked in place with a marker pen, where I would then push and twist a knife in to create the holes, of which then I pushed dole into the holes to create the shoulders and pelvic area.
The arms and legs were marked in place with a marker pen, where I would then push and twist a knife in to create the holes, of which then I pushed dole into the holes to create the shoulders and pelvic area.
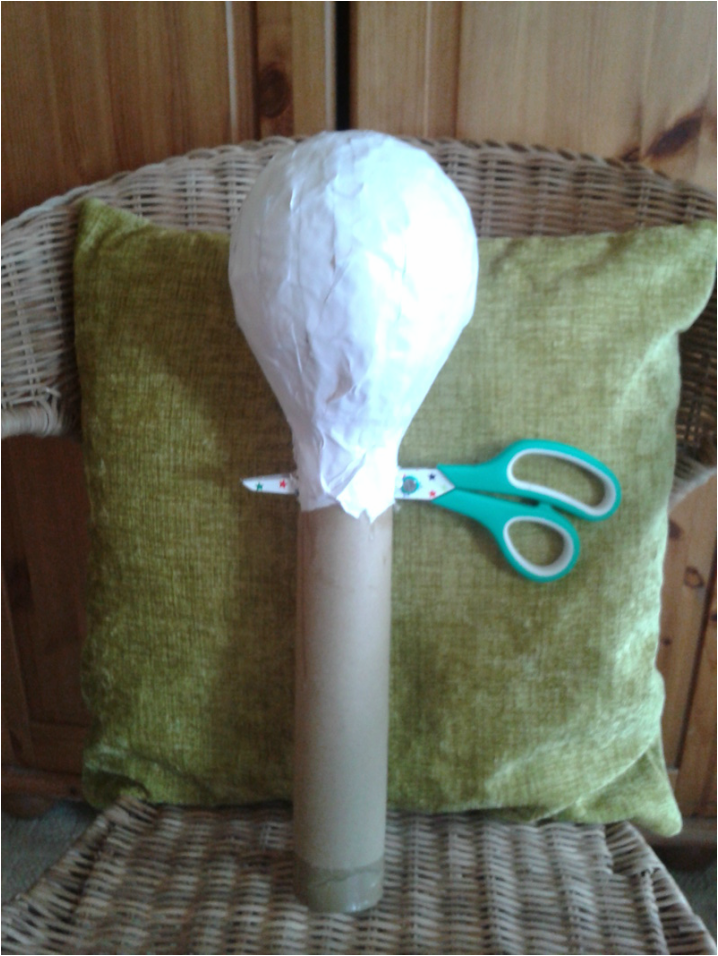
I also did the same with the bottom of the tube to make the holes for the legs.
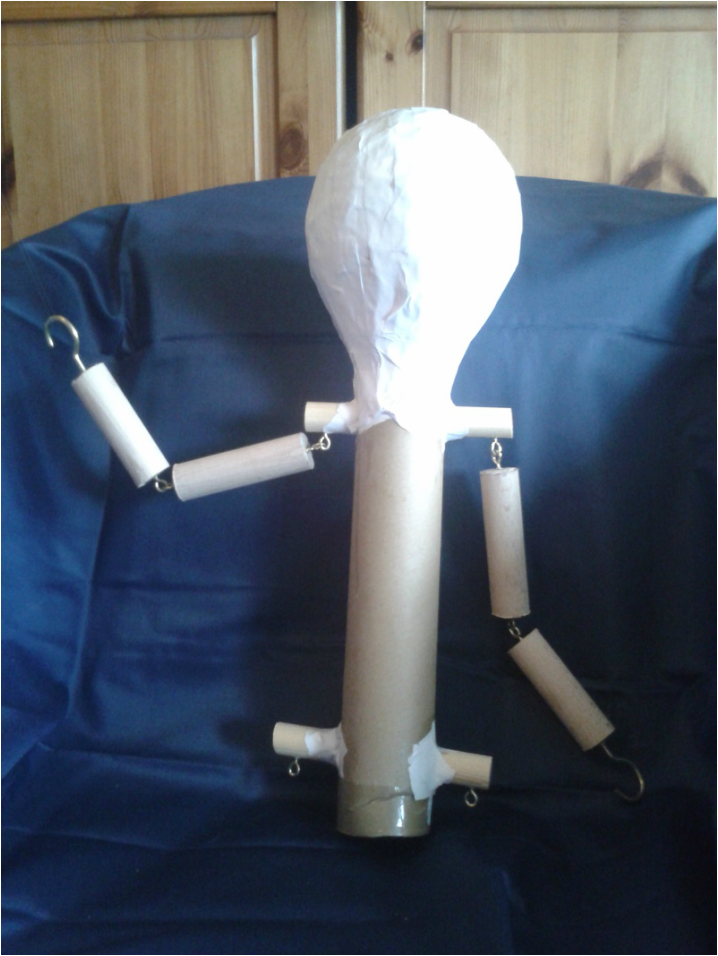
Then after having the shoulder and pelvic joints were in places, I then went onto pushing four wooden pins though the ends of the dowel to mark out where the hooks would go, which would then become the joints for the legs and arms.
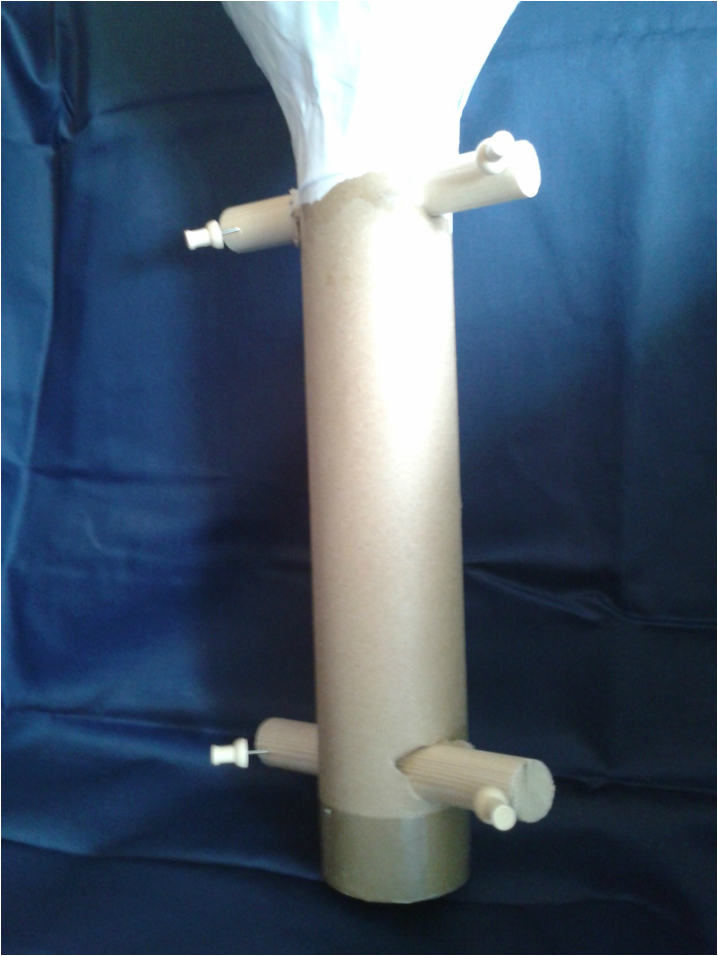
After I put the hooks in the dowel parts I faces the hooks and the dowel down wards the floor, so that the joints would hang, which would later enable my puppet to stand and move.

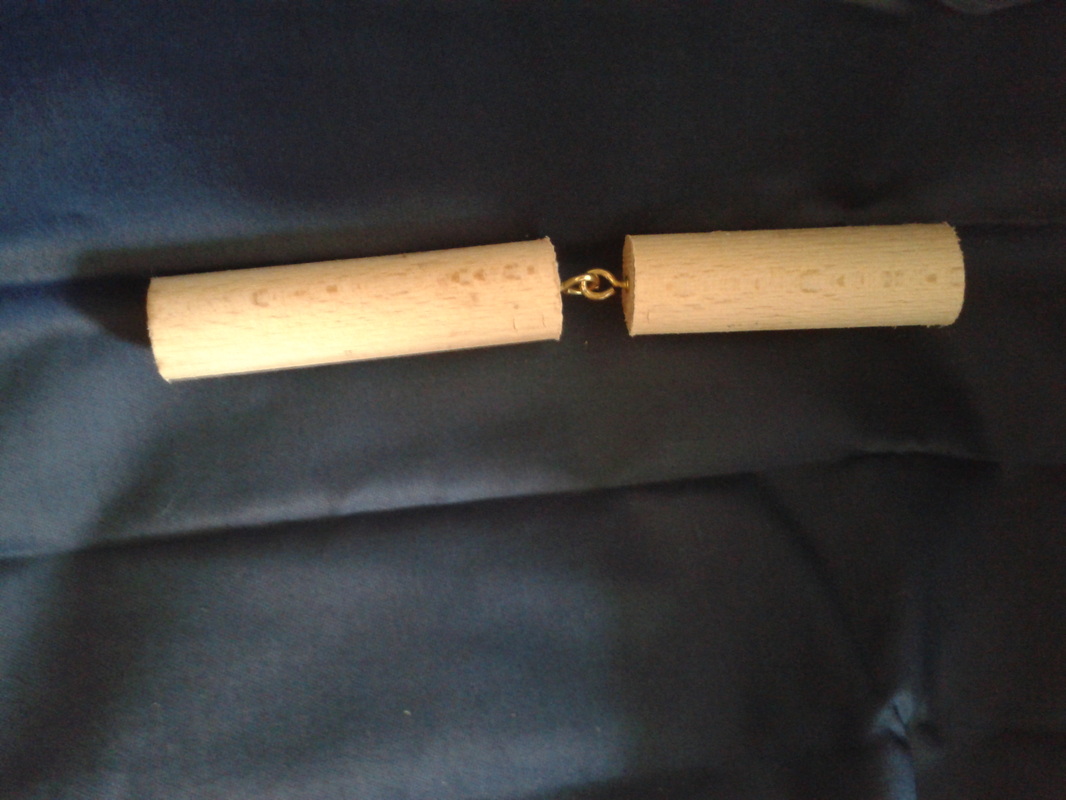
To make the arms I cut two parts of dowel the same size, I also did this same process for the legs. Once I knew these joints were all the same size, I then put two hooks at the bottom of the dowel. I then closed the two hooks around each other, this would enable the joint parts to move but at the same time stay in place.
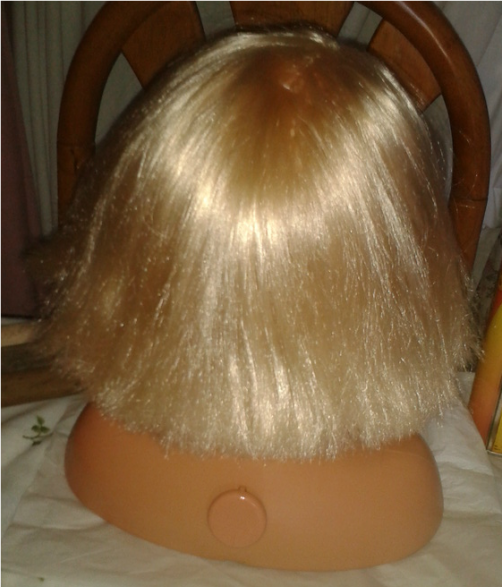
To create the hair for my puppets, I brought a toy head the same colour as TRIXIE'S from the television series, of which I then cut around the hair and ears and then glued it to the head of my puppet. I then styled the hair to look the same, by referencing from the television series and the book of, 'call the midwife'.
I then added the arm joints and attached two bigger hooks onto the ends of the dowel, of which I would then make into hands.
I then repeated the same process that I did for the arms for the legs to take shape but instead of using the bigger hoots for hands, these would take form of the puppets feet and shoes.
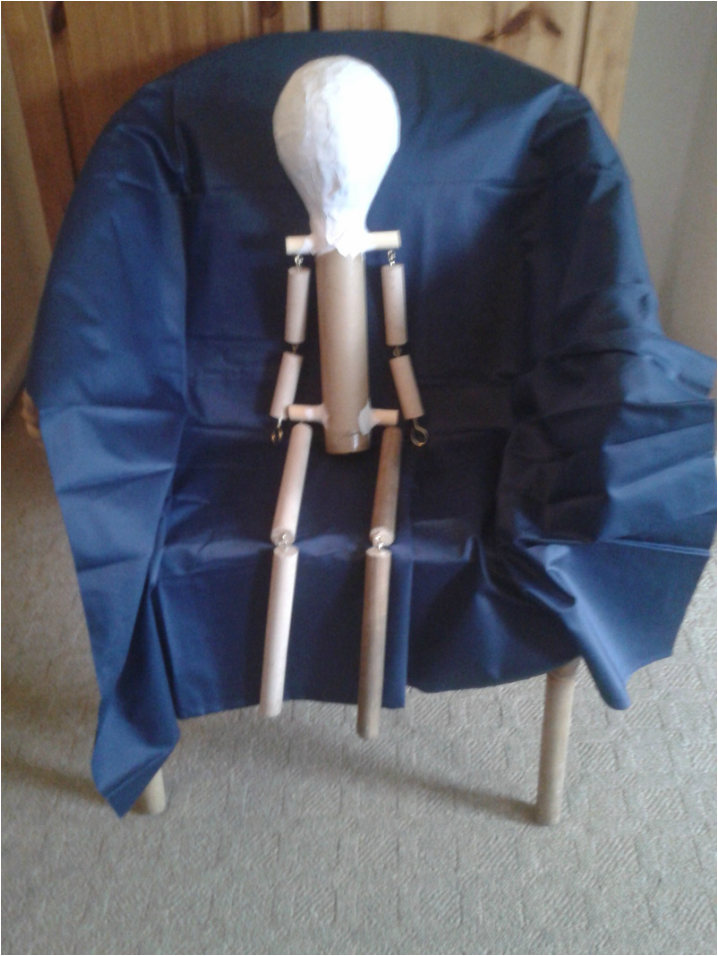
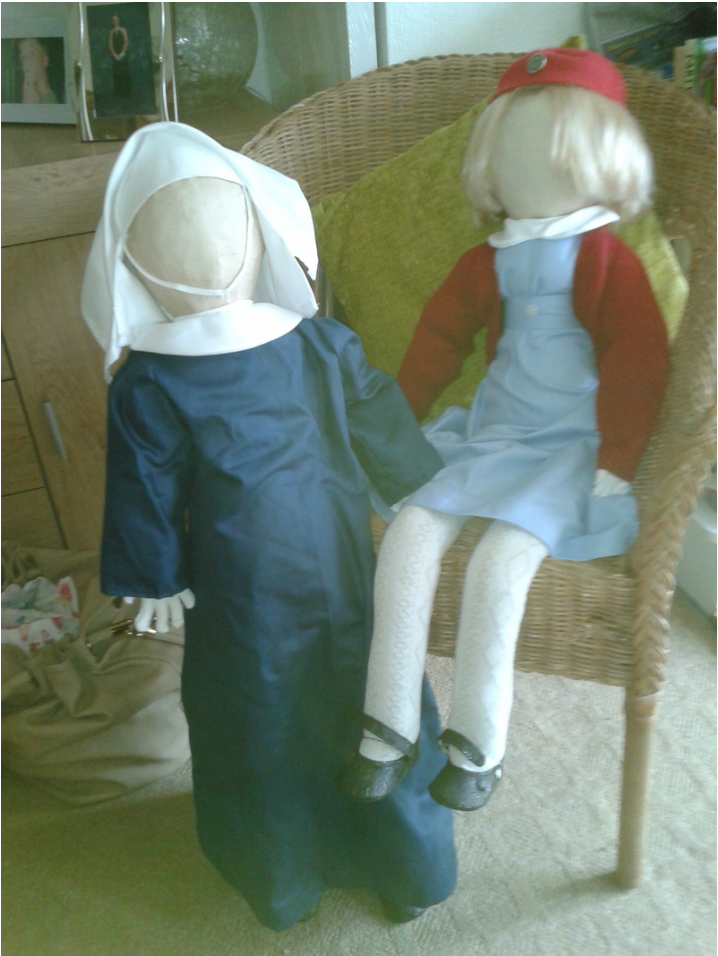
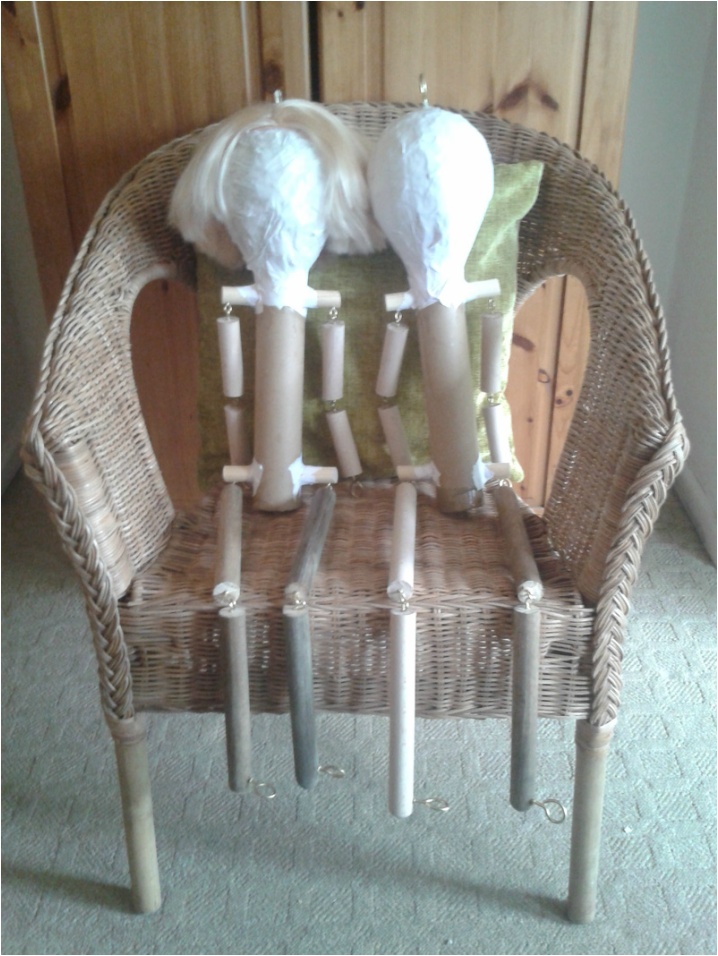
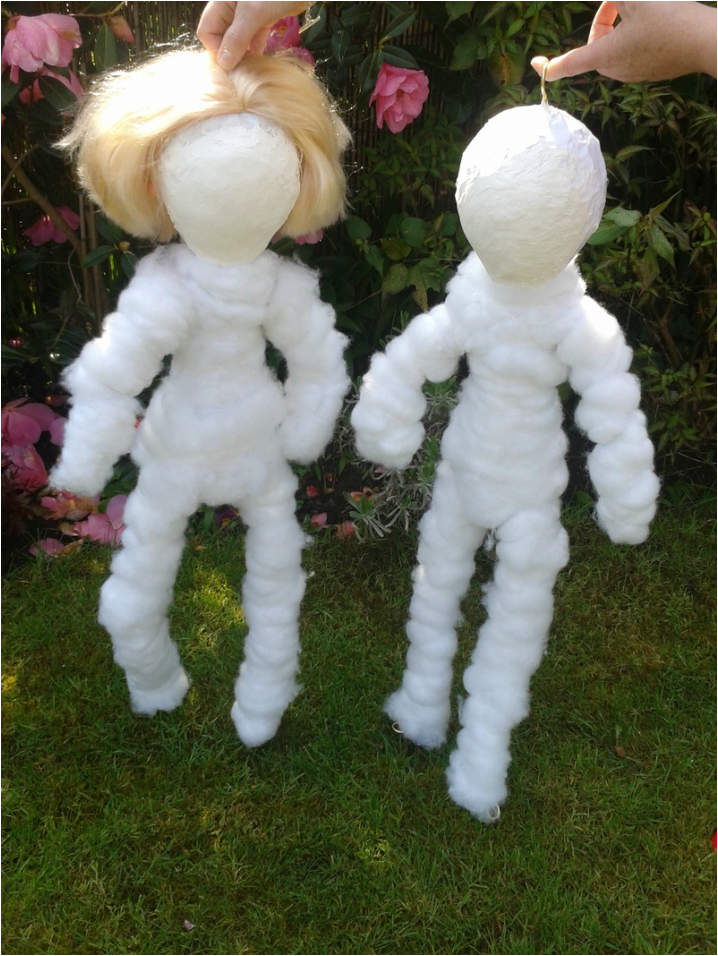
Below are the puppets together, with all joints in tacked. Here is when you can begin to really see my puppets take shape of real people.
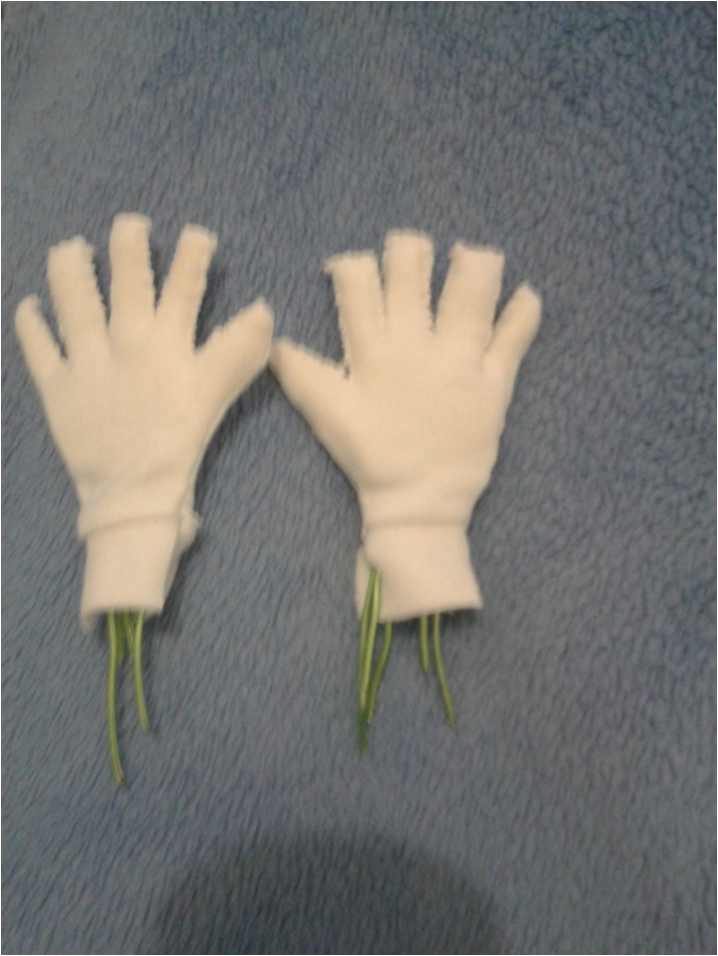
For the hands I decided to use baby mittens to go over the top of the hands, which I cut out of foam.
I wanted to use baby mittens over the top of the foam, as I wanted my puppets to have a more natural and human like appearance.
I wanted to use baby mittens over the top of the foam, as I wanted my puppets to have a more natural and human like appearance.

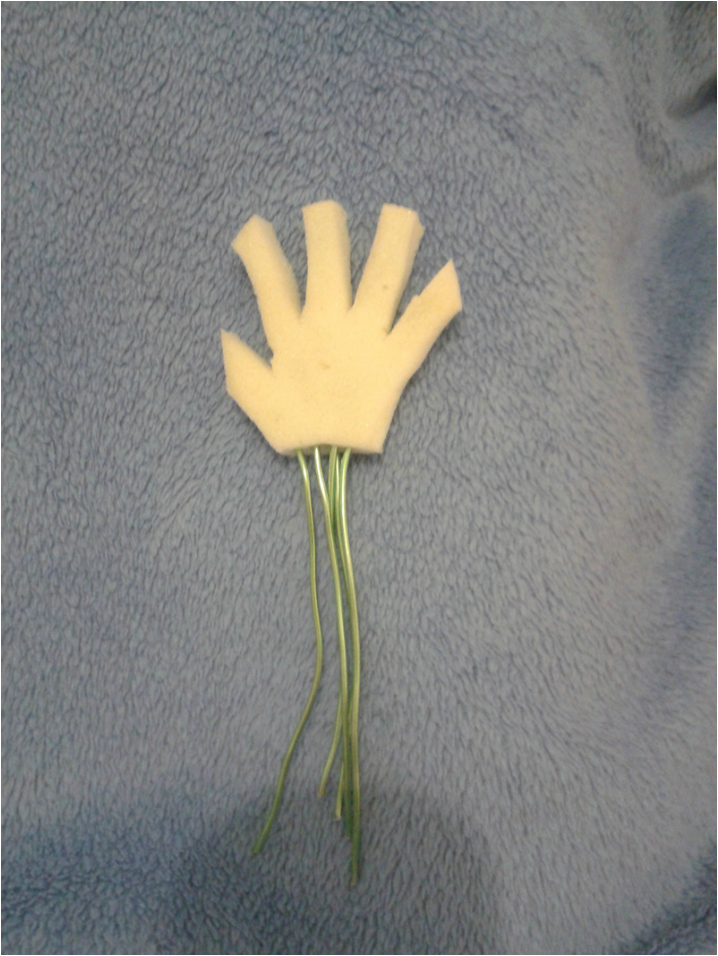
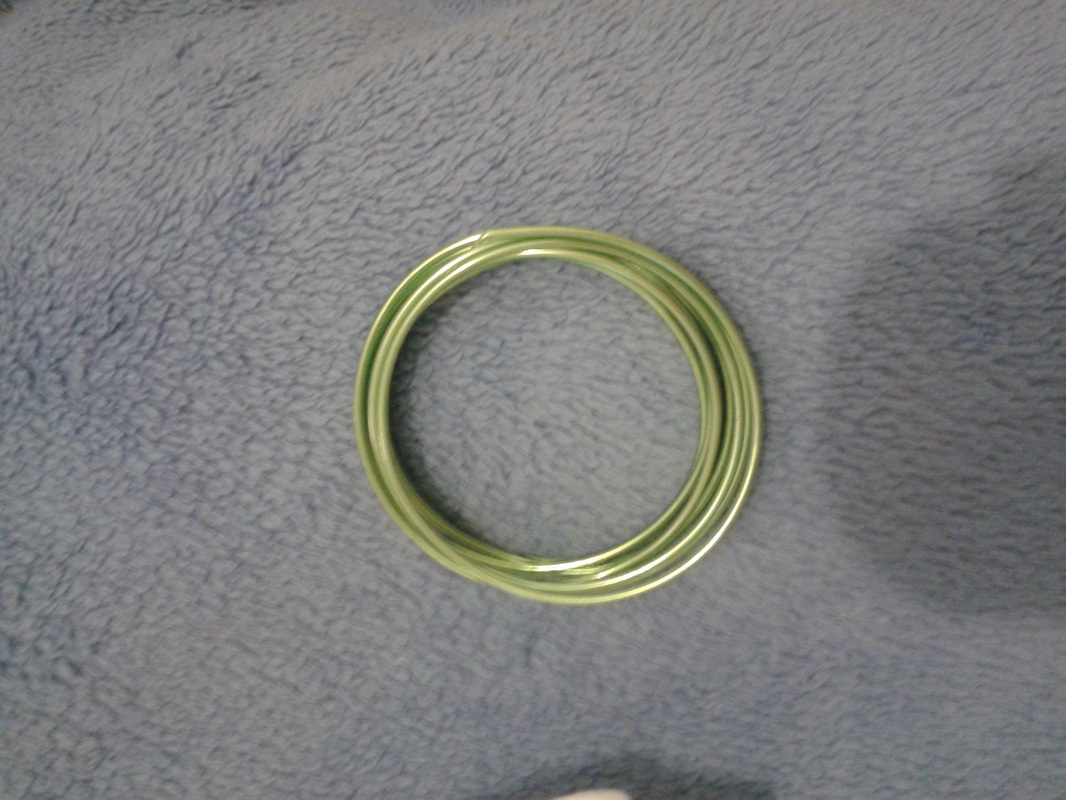
Below is the wire which I used in the foam fingers, to enable them to move.
This wire was perfect for the job as it was both flexible and strong enough to maintain the shape needed.
This wire was perfect for the job as it was both flexible and strong enough to maintain the shape needed.
Then I stitched the mittens around the foam hands and made sure the wires were not able to move out of the foam.
To create the stuffing for my puppets, I brought a pillow and took all the stuffing out. I then cut around the shapes of the puppets to give the puppets padding, placed the stuffing on top.
After I had the stuffing on top of the puppets, I then wrapped white cotton around each section.
I did this to tighten everything together and hold everything in place, it also created the illusion of real skin.
I did this to tighten everything together and hold everything in place, it also created the illusion of real skin.
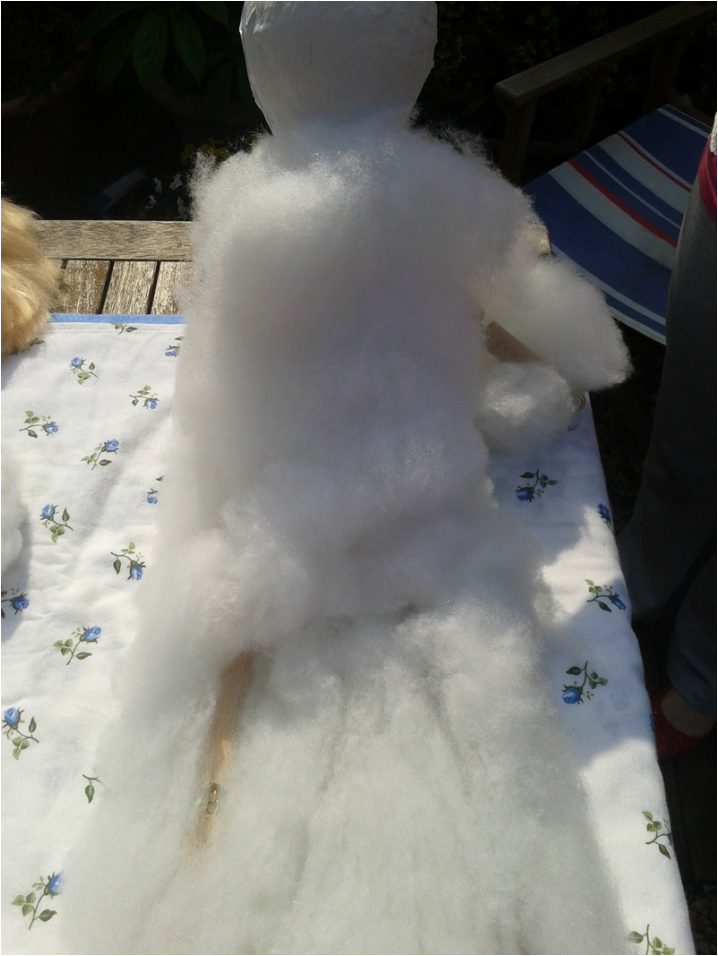
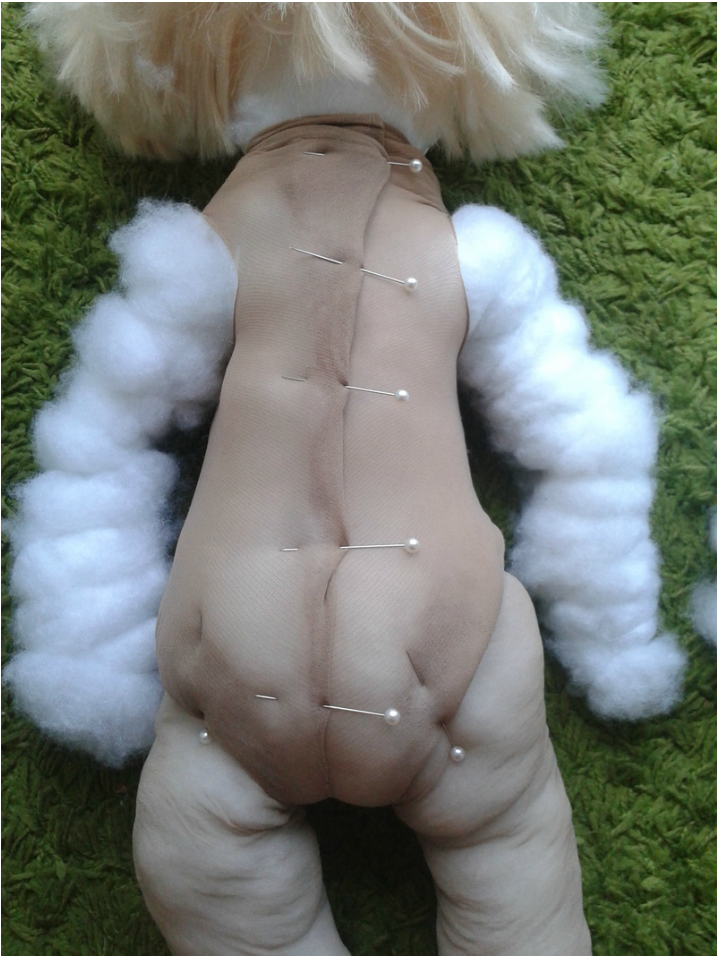
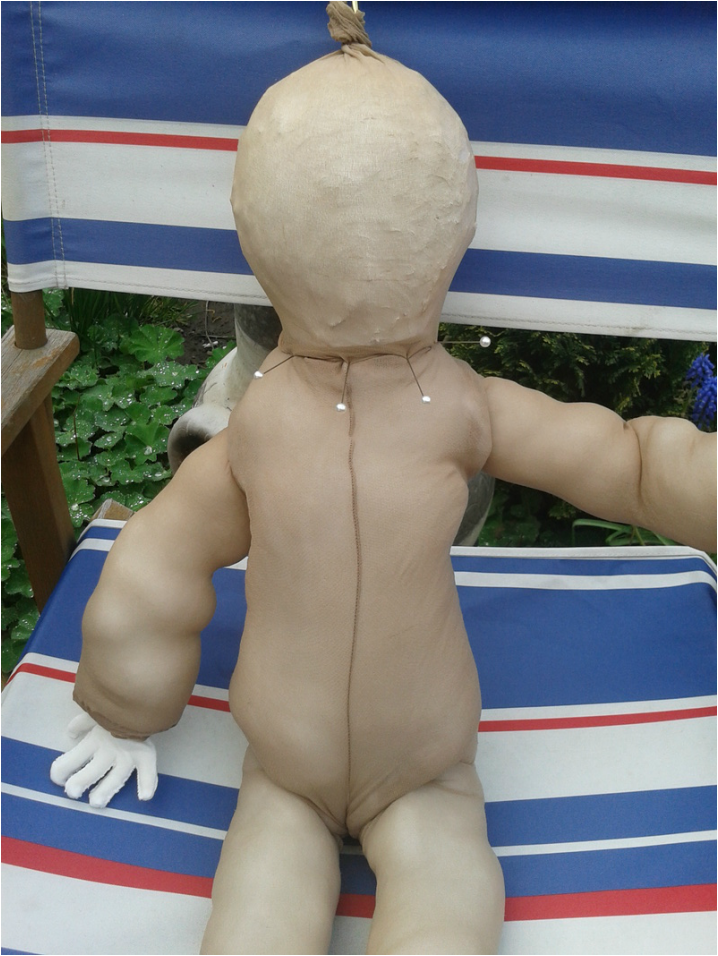
This is the back of the puppet. After I gave the puppets padding, I then pulling tights over them to create the skin. At the back of the puppets, I folded the tights over to make them tighter and fit better. This also made the puppets look like the knees were firm and making definitions to their bodies.
This is the front of the puppet which has a line down running down the centre to make sure everything is the same on each side.
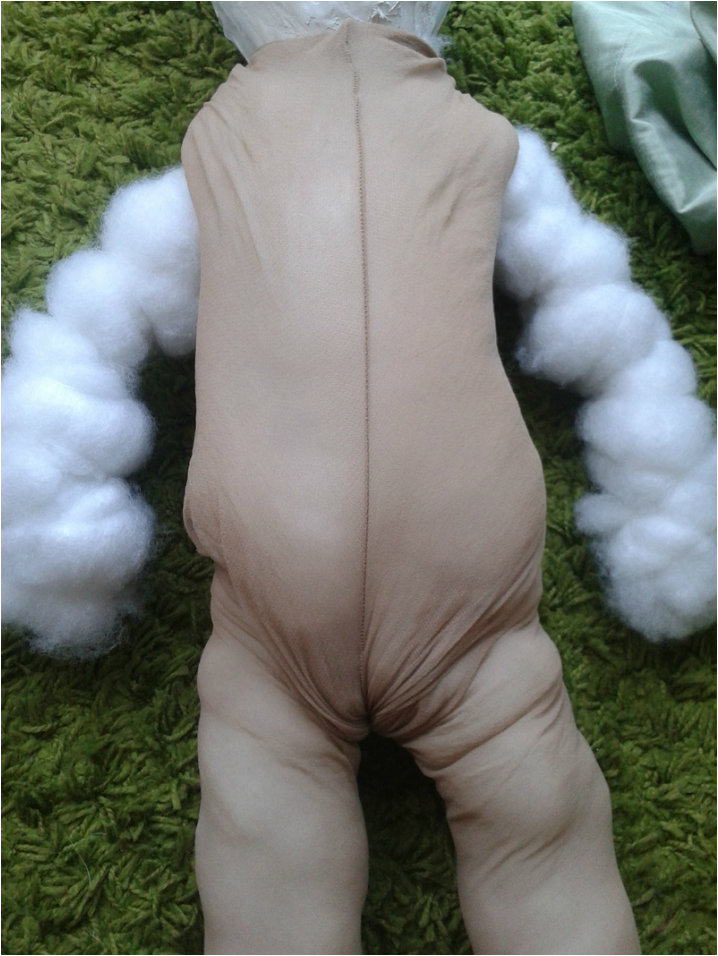
Having put the tights on the legs and up through the main centre body section, I then added the padding to the arms.
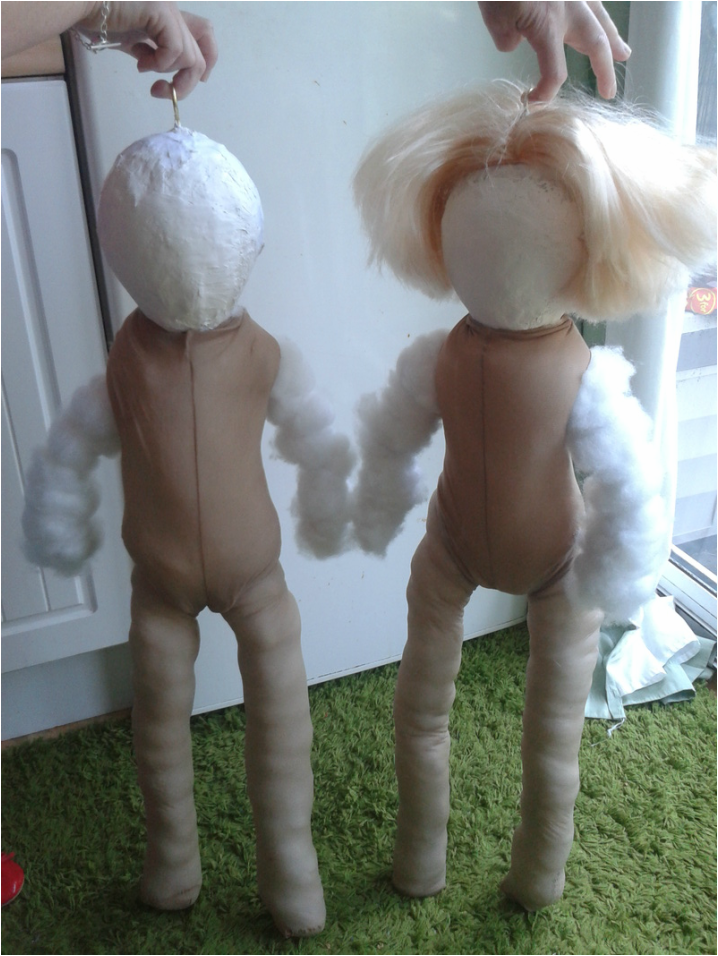
Doing the same method with the arms as I did with the legs and body, I also covered the head with a tight and stitched it to the body so that the face would be skin colour as well.
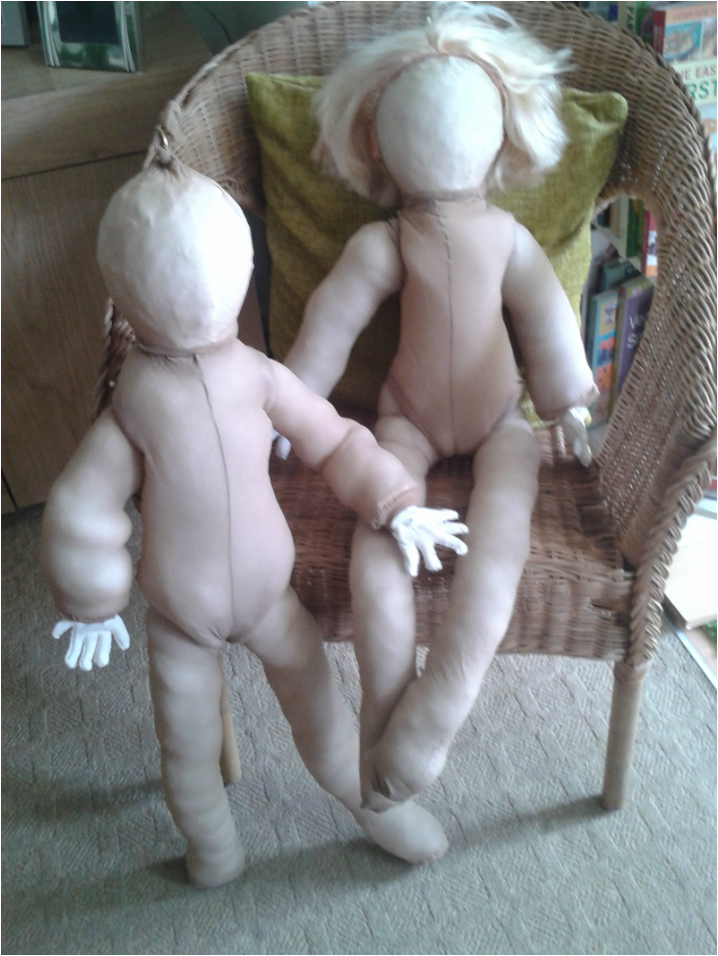
These are my puppets after I'd finally stitched the backs and all the joints together and when the padding was put in the right places.
What I Want the puppets clothes to look like.
This is the Midwife/nurse costume a light blue dress with a white collar and a red cardigan and brown shoes.

This is the Sister/Nun costume with a dark blue (almost navy) dress and a white collar and a white habit and brown shoes.

I had just finished watching the television series of CALL THE MIDWIFE and fell in love with the two characters TRIXIE and SISTER JUILENNE.
I really felt like the two characters were the main and the ones that most people relate to.
I related to them both , as SISTER JUILENNE is strong and knows what is going on all the time and is like a mother to the rest of the NUNS and NURSES .
TRIXIE on the other hand I relate to her fun side and the sense of fashion; always having a new outfit to dress up in and her sense that there is so much good in the world.
Materials I used.
Dowel.
For the arm, legs and joints of the puppets.
For the arm, legs and joints of the puppets.

Hooks.
For the contracting of the dowel pieces together.
For the contracting of the dowel pieces together.

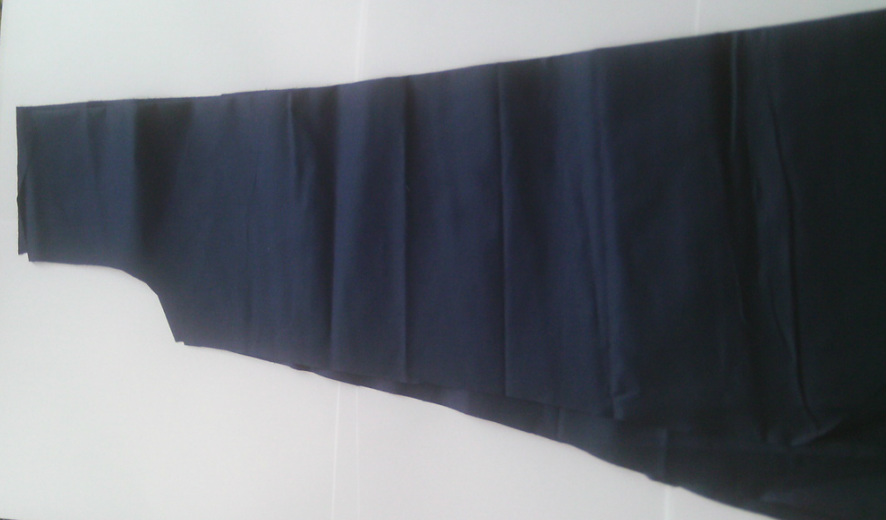
Dark blue material.
For the Sisters/Nuns dress.
For the Sisters/Nuns dress.

Light blue material.
For the Midwife/ Nurses dress.
For the Midwife/ Nurses dress.

White material both for the Midwife/Nurses collar around the dress and for the Sister/ Nuns collar around the dress and the habit.

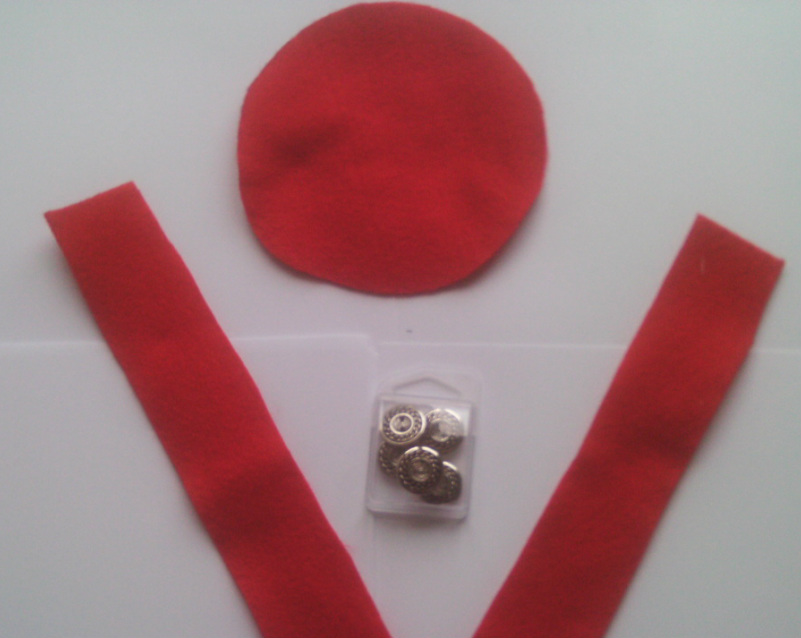
Red felt to make the hat for the Midwife/ Nurses outfit.
Accessories.
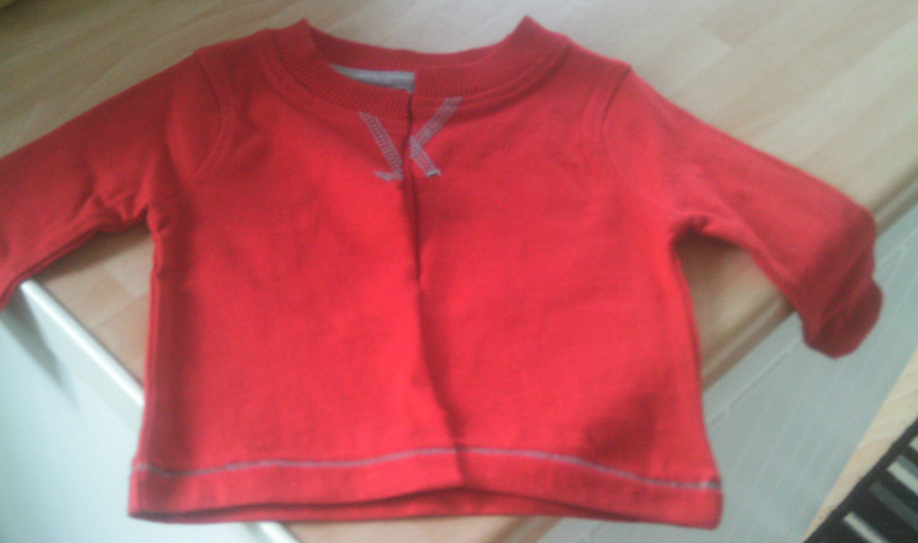
This small red cardigan that I am going to stich the cardigan to the Trixie puppet.
But the cardigan that was meant to be used was too small so I had another cardigan knitted so it would be more to the style of the puppets.
But the cardigan that was meant to be used was too small so I had another cardigan knitted so it would be more to the style of the puppets.
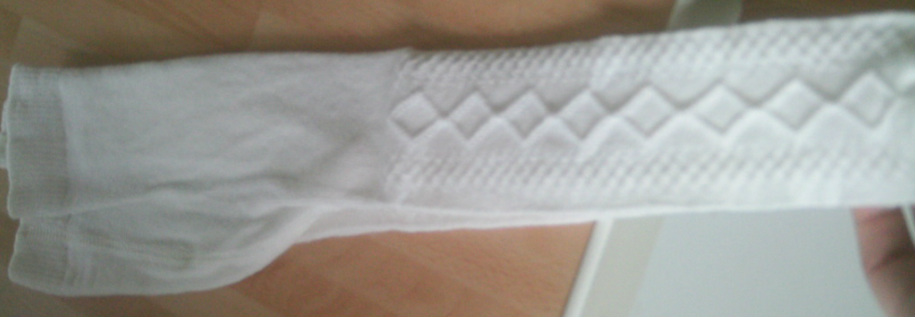
White and Cream Tights that are going to go over the legs of the puppets to hide the wood.
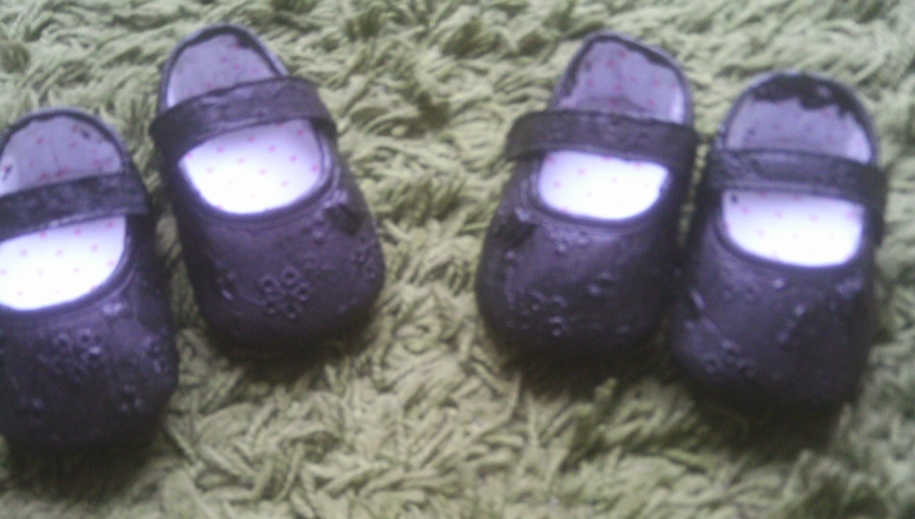
Brown shoes that I painted so that they could go on the bottom of the puppets legs.
Patterns for the outfits for the puppets.
I cut out a circle for the top of the hat for nurses hat the long sides are to make the hat. The button is for the centre of the hat. The hat is going to look exactly like Trixie hat.

I used the same pattern for the both dresses for the nurse and nun. For the nurse It is a mid length dress with a small light blue belt. It will have a small white button in the centre of the light blue belt.

I used the same pattern for the dresses but with the nurses dress the nuns dress had to be slightly longer. I have go the arms to add but the dress is the main thing. The arms I will stitch together to make the nuns dress.
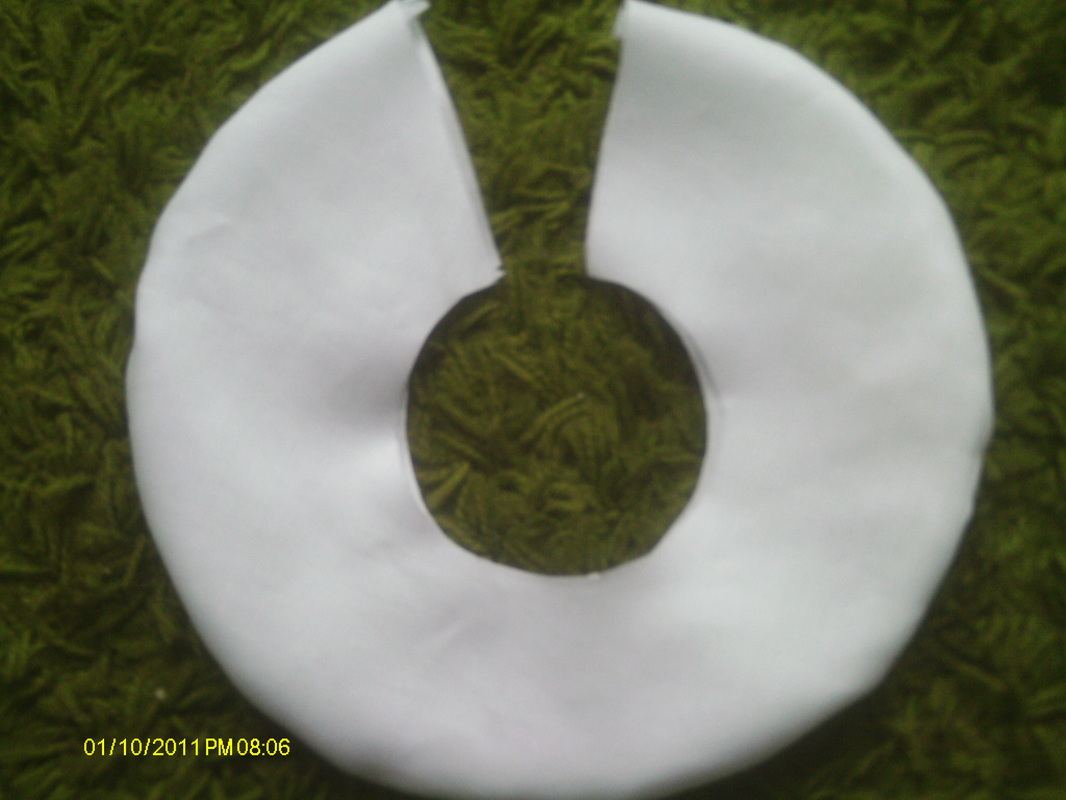
I used a plastic plate for an template for the nuns habit. I doubled up on the habit to make it thicker and stronger for the white material.

This the finished collar to goes round the nuns neck.
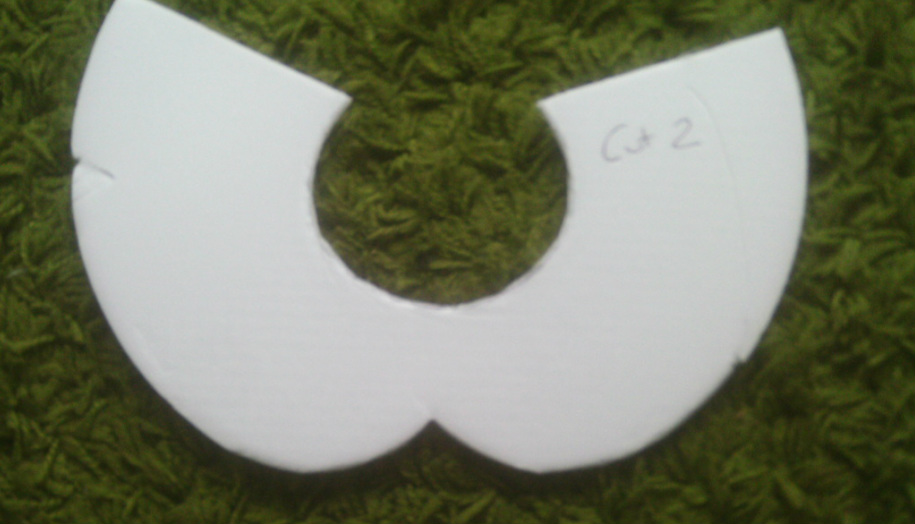
The collar for the nurses dress. I made the collar with two sections to of the white material to make the collar thicker around the neck of the nurse puppet.
Finished puppet's